How to load test modules
If a CHIRP developer tells you to load a module to test, follow these instructions.
- Launch CHIRP. Make sure you are running the latest CHIRP-next build. If not, upgrade and start over.
- Before you do anything else, click Help in the menu bar and select Load module from issue
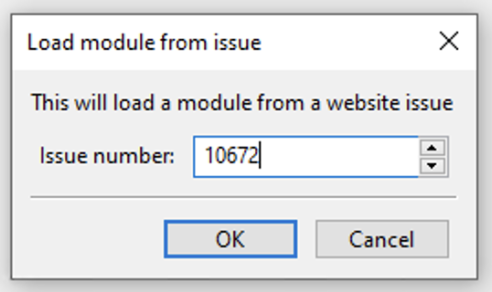
- Key in the Issue number which has the test module attached (see below) and click the [OK] button
- Select the driver module listed and click the [OK] button. If there are multiple modules attached, select the one the developer wants you to test, usually the latest/last one. Your CHIRP is now running with the test driver module loaded.
- Test and report back your results. Be sure to include a debug log per the instructions here.
Note 1: An externally loaded driver module like this does not permanently change your CHIRP installation in any way. Once you close CHIRP you will have to re-load the driver module in order to have the added fixes or features again.
Note 2: If you have any tabs open when you load the module, they will not be updated to run the latest driver code. Please load the module before opening any files or downloading from any radio, unless a developer gives you alternate instructions.
Finding the issue number
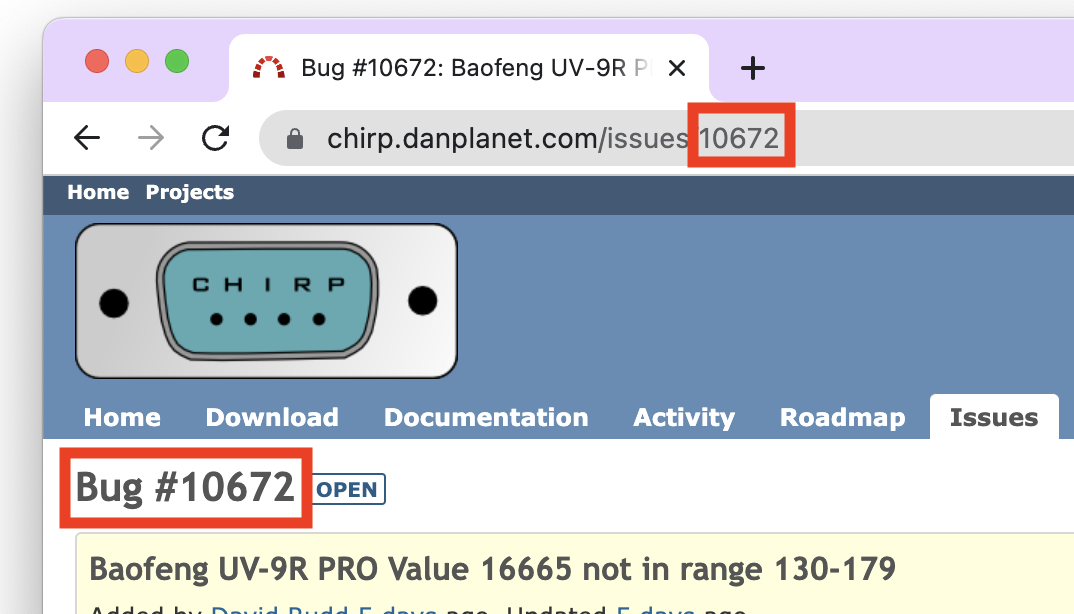
The issue number that you need to put into CHIRP is on the page where you are communicating with the developer. In the example below, the issue number is 10672:
You would enter this number into CHIRP in the following way:
Updated by Alexandre J. Raymond 10 months ago · 13 revisions